Laminate Flooring Installation in a 3,000 sq. ft. Encino Home
Flooring is one of the most important elements in any home. It defines the overall look of the space, impacts comfort, and determines how long the renovation will last without issues. Even the most expensive laminate will not last if installed incorrectly.
FLOORINTERNAL REPAIRSOUR WORKS
9/14/20253 min read
Recently, our team at ProHands Handyman was invited to work on a large-scale flooring project in a 3,000 sq. ft. home in Los Angeles. The homeowners contacted us after their “new” floor — installed by a different contractor just a few months earlier — started to fail. The laminate lifted, formed waves, and in some areas, the boards separated and shifted.
We performed a professional inspection, identified multiple installation errors, and completely replaced the floor, following proper technology and industry standards.
⸻
What Went Wrong with the Previous Installation
During our inspection, we discovered several major mistakes:
• No expansion gaps were left between the laminate and the walls.
• The floor was installed without any underlayment, leading to moisture issues and uneven load on the locking system.
• Boards were joined improperly, causing the locks to separate.
• Large dips and uneven areas in the concrete subfloor were left unaddressed.
• The layout did not align with the kitchen island or fireplace, creating uneven lines.
These errors are common when inexperienced installers take shortcuts. A laminate floor may look fine on day one, but within weeks or months, problems begin to appear.
⸻
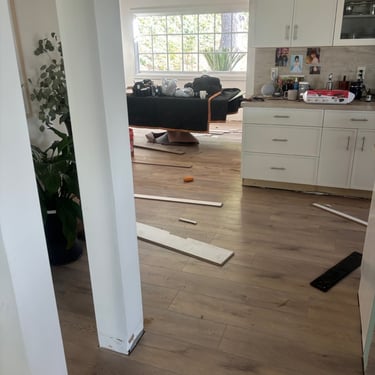
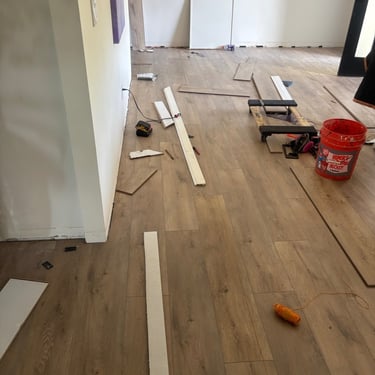
Step 1: Demolition of the Old Floor
We started with a careful demolition of the existing laminate. Since there was no plywood underneath, we worked directly with the concrete base. The surface was cleaned and prepared for leveling.
⸻
Step 2: Subfloor Leveling – The Most Important Stage
This was the most critical and labor-intensive part of the project. The original installers skipped it entirely, which caused most of the problems.
• In some areas, the concrete had high spots, which we ground down.
• In other areas, there were deep dips and uneven patches, which required a significant amount of self-leveling compound.
By combining grinding and leveling, we created a perfectly flat base for the new floor. This step is often overlooked, but it is the foundation of a durable laminate installation.
⸻
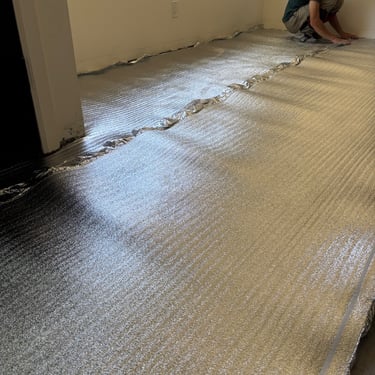
Step 3: Underlayment Installation
We installed a modern underlayment with a reflective layer, which provides:
• moisture protection,
• noise reduction,
• improved walking comfort,
• longer life span of the laminate.
⸻
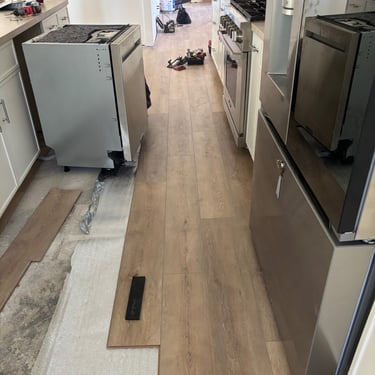
Step 4: Complex Areas — Kitchen and Fireplace
The project had additional challenges because the previous contractors installed the floor first, and then the kitchen cabinets and island on top of it.
This forced us to:
• slide new laminate slightly under the kitchen base while still maintaining proper expansion gaps,
• perfectly align the floor lines with the kitchen island.
We also had to make precise cuts around the fireplace and vertical structures. Usually, such joints are covered with baseboards or transition strips, but thanks to our careful work, no additional trim was required. The floor looks like a continuous surface.
⸻
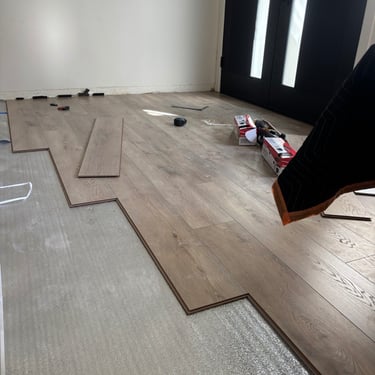
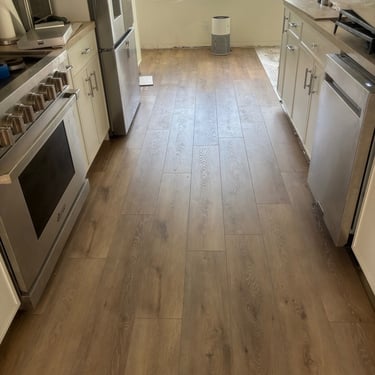
Step 5: Full-Sheet Laminate Installation
We laid the laminate as one continuous sheet across the entire 3,000 sq. ft. home — without thresholds or breaks between rooms.
This requires advanced skills, as even a small mistake in alignment can cause lines to drift. But when done correctly, it gives the home a modern, seamless look and visually enlarges the space.
⸻
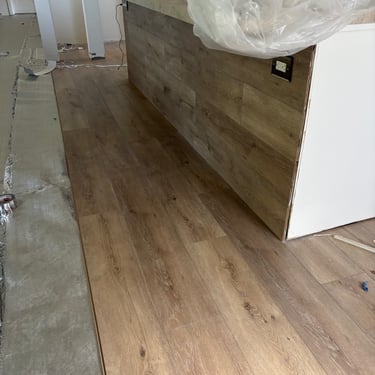
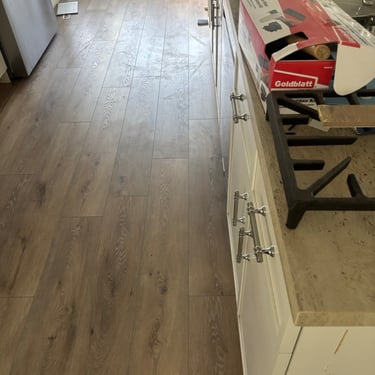
Step 6: Client’s Request for a Random Pattern
We usually recommend the industry-standard 1/3 stagger for board alignment. It ensures maximum stability and longevity of the floor.
However, the client insisted on a more “random” layout for aesthetic reasons. We explained the risks and warned that this could affect durability. The client accepted the responsibility, and we followed his vision.
At the same time, we optimized the layout by:
• carefully staggering board ends so they intersect with as many surrounding boards as possible,
• making sure all locks were firmly engaged,
• maximizing the strength of the floating floor system.
As a result, the client received the look he wanted without compromising structural stability.
⸻
Final Result
After completing the project, the homeowners received:
• a perfectly level and stable floor,
• seamless installation across 3,000 sq. ft.,
• precise finishing at the fireplace, kitchen, and island without thresholds,
• a modern design matching the client’s preferences,
• durability and comfort guaranteed for years to come.
⸻
Useful Tips for Homeowners in Los Angeles
• Always insist on proper subfloor preparation — it’s the foundation of the entire floor.
• Never allow laminate installation without an underlayment.
• Expansion gaps are essential — skipping them will ruin the floor.
• Discuss the layout pattern with your installer — it affects both design and strength.
• Choose experienced professionals who can handle large continuous installations.
⸻
Conclusion
This Los Angeles flooring project is a clear example of why professional installation matters. Poor preparation and shortcuts led to failure in just a few months. By correcting those mistakes — leveling the floor, installing underlayment, and applying precision techniques — we delivered a flawless, long-lasting result.
If you need laminate flooring installation, repair, or replacement in Los Angeles, Glendale, Pasadena, or Burbank, contact us today:
📞 818-401-7766
We’ll make sure your floor not only looks beautiful but also stands the test of time.