Full Ceiling Restoration After Light Box Removal
Light box removal often leaves more than a simple opening in the ceiling. These fixtures are typically integrated into framing, drywall, and electrical layouts, which means their removal can expose uneven surfaces, damaged drywall edges, and large areas requiring full restoration. This project focused on complete ceiling restoration after light box removal, returning the ceiling to a clean, uninterrupted finish.
DRYWALLINTERNAL REPAIRSOUR WORKSPAINTING & STAINING
6/24/20252 min read
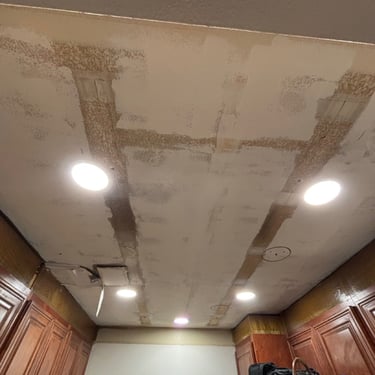
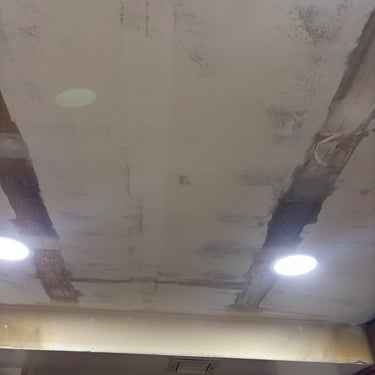
Initial Condition After Light Box Removal
After the light box was removed, the ceiling showed:
• a large opening where the fixture had been mounted
• uneven drywall edges and exposed framing
• mismatched ceiling planes around the opening
• missing texture and inconsistent surface levels
At this stage, a small patch repair would not have produced a visually acceptable result.
⸻
Why Light Box Removal Requires Full Ceiling Restoration
Light boxes are often installed by cutting into the original ceiling structure. Over time, surrounding drywall may shift or sag slightly, making localized patching ineffective. Without full restoration:
• patched areas remain visible under lighting
• texture transitions appear uneven
• ceiling lines look distorted
A full restoration ensures the ceiling returns to a uniform plane.
⸻
Preparation and Structural Correction
The restoration process began with careful preparation:
• trimming and reinforcing drywall edges
• correcting surface irregularities around the former light box area
• ensuring the ceiling plane was level and continuous
This step created a solid foundation for finishing work.
⸻
Drywall Installation and Integration
New drywall was installed where required:
• seams were properly aligned
• joints were reinforced and secured
• transitions were blended into the surrounding ceiling
The goal was to make the repaired area structurally identical to the original ceiling.
⸻
Joint Compound and Surface Leveling
Multiple stages of finishing followed:
• joint compound was applied in layers
• surfaces were feathered widely to avoid visible outlines
• drying time was respected to prevent future cracking
This process ensured smooth, gradual transitions across the ceiling.
⸻
Texture Application and Matching
The ceiling texture was applied to:
• match the original pattern and density
• maintain consistency across the entire restored area
• eliminate visible repair boundaries
Accurate texture matching is critical in ceiling restoration, especially in open or well-lit rooms.
⸻
Sanding, Priming, and Painting
Once the texture cured:
• the surface was refined and lightly sanded
• primer sealed the restored ceiling
• paint was matched and blended evenly
These final steps completed the transformation and unified the entire ceiling surface.
⸻
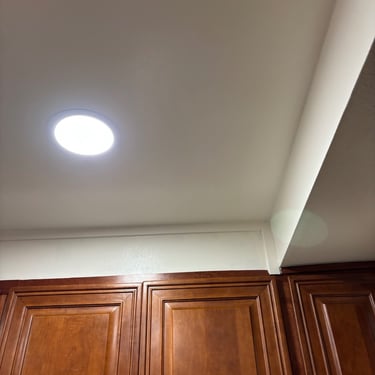
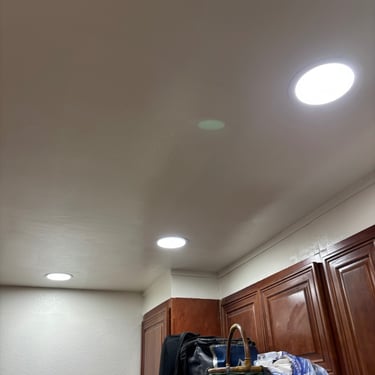
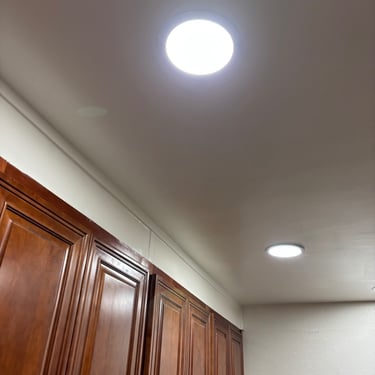
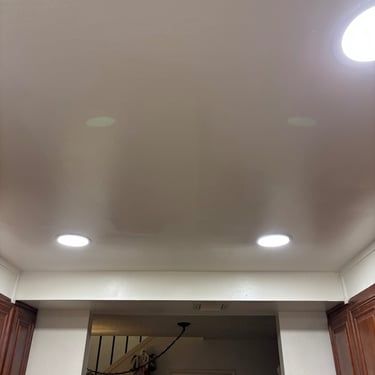
Result: A Clean, Continuous Ceiling
After completion:
• all traces of the former light box were eliminated
• the ceiling appeared flat, uniform, and uninterrupted
• texture and finish matched the surrounding areas perfectly
The ceiling was fully restored as if the light box had never existed.
⸻
Why Professional Ceiling Restoration Matters
Ceiling restoration after light box removal requires more than patching skills. Without proper leveling and blending:
• repairs remain visible
• ceiling lines look uneven
• lighting highlights imperfections
Professional restoration ensures a clean result that holds up over time.
⸻
Why Homeowners Choose ProHands Handyman
Homeowners choose ProHands Handyman for ceiling restoration projects because we focus on:
• precise surface correction
• full integration of repaired areas
• accurate texture and finish matching
• durable, professional results
We approach ceiling restoration as a finishing craft, not a quick fix.
⸻
Conclusion
This full ceiling restoration project demonstrates how removing a light box can require comprehensive repair to achieve a seamless result. With proper preparation, drywall integration, texture matching, and finishing, the ceiling was restored to a clean, continuous surface.
⸻
Need Ceiling Restoration After Light Fixture or Light Box Removal?
ProHands Handyman
📞 818-401-7766
Contact us to discuss professional ceiling restoration solutions.