Assembling a Dresser: Practical Tips and Step-by-Step Experience
Sometimes after completing large, demanding renovation or construction projects, it feels good to take a break with something smaller and calmer. Assembling furniture is a great option for this. At first glance, building a dresser might seem like a simple task. But in reality, even this process requires attention to detail, accuracy, and a few practical skills.
FURNITUREOUR WORKS
8/23/20252 min read
In this article, we’ll walk you through the steps of assembling a dresser, highlight common mistakes to avoid, and share useful tips that will help you achieve a neat, durable result.
⸻
Why Furniture Assembly Requires Accuracy
Modern furniture kits usually arrive flat-packed. It may look easy — just connect the panels and tighten a few screws. However, mistakes during assembly can lead to unpleasant results:
• crooked or misaligned drawers,
• uneven gaps between fronts,
• squeaky or stiff drawer slides,
• reduced durability of the furniture.
This is why even a “simple” job requires a careful approach.
⸻
Key Stages of Dresser Assembly
1. Preparing the Workspace
Before you begin, set up a clean and spacious work area. Lay down a protective sheet to prevent scratches on both the flooring and the furniture parts.
2. Checking the Parts and Hardware
Always check that all pieces and hardware are included in the package. Manufacturers sometimes make mistakes, and it’s better to know before you start than discover a missing part halfway through.
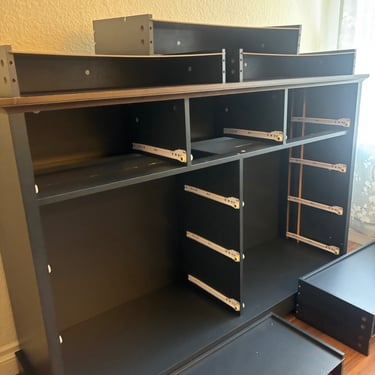
3. Installing the Drawer Slides
This is one of the most crucial steps. If the slides are not installed evenly, the drawers will not close properly or may stick. Pro tip: use a level or carefully check that the slides are parallel.
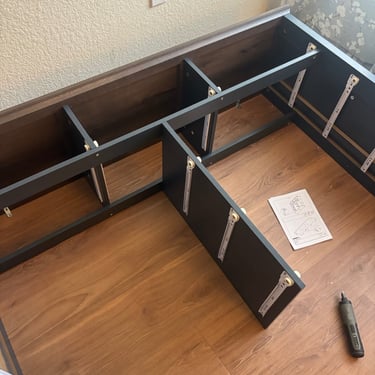
4. Assembling the Frame
Once the preparation is done, you can start assembling the main frame. Be careful not to overtighten screws — this can damage the laminate surface or cause cracks in the panels.
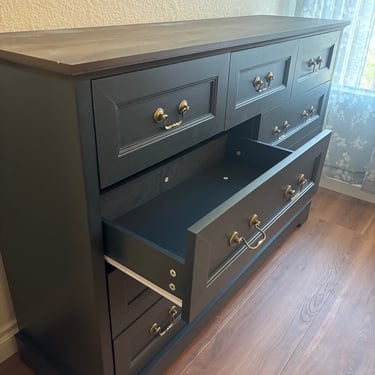
5. Final Adjustment
After placing the drawers into the slides, test their movement. If something feels tight or uneven, it’s better to fix it right away rather than ignore the issue.
⸻
Useful Tips for Smooth Assembly
• Use an electric screwdriver for speed, but tighten the last few turns by hand to avoid stripping the material.
• Work on a flat surface. Uneven floors can cause the frame to go out of alignment.
• Don’t rush. Spending an extra 10–15 minutes on careful alignment will save you hours of corrections later.
• If the provided screws or hardware look cheap or fragile, consider replacing them with higher-quality ones — it will extend the life of the dresser.
⸻
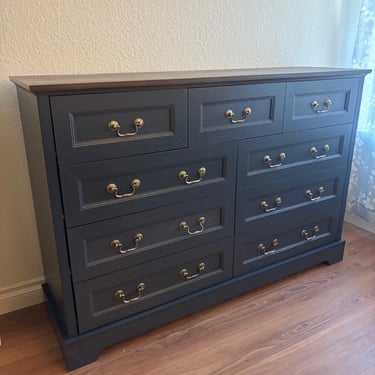
Conclusion
Assembling a dresser is not only a practical project but also a satisfying one. Seeing the final piece come together — neat, sturdy, and functional — is rewarding and shows that patience and precision pay off.
This kind of work is useful for homeowners who enjoy DIY, as well as for those who hire professionals: by understanding the key steps, you can better evaluate the quality of the assembly and ensure a long-lasting result.